
Image 1: Upwards view towards Stephen
Hawking's laboratory on the left, as we see the lighting effect illuminating the underside of both
laboratories through the trees.
Image 2: Displays the meeting place, as the lighting frames the boundary through the reflection of the surrounding plants and trees against the landform.

Image 3: This portrays Stephen Hawkings labortory as it rises up above the trees, as the long thin shape directs his view in a linear manner forward.

Image 4: This portrays not only Charles Darwin's labortory but also the ramp within the landform connecting both labortories with the meeting place.

Image 5: Taken a dawn this image displays the overall design of the structure as it is defined within its surronding landform by the lighting beneath the main labortories.
 Image 1: Upwards view towards Stephen Hawking's laboratory on the left, as we see the lighting effect illuminating the underside of both laboratories through the trees.
 Image 2: Displays the meeting place, as the lighting frames the boundary through the reflection of the surrounding plants and trees against the landform.
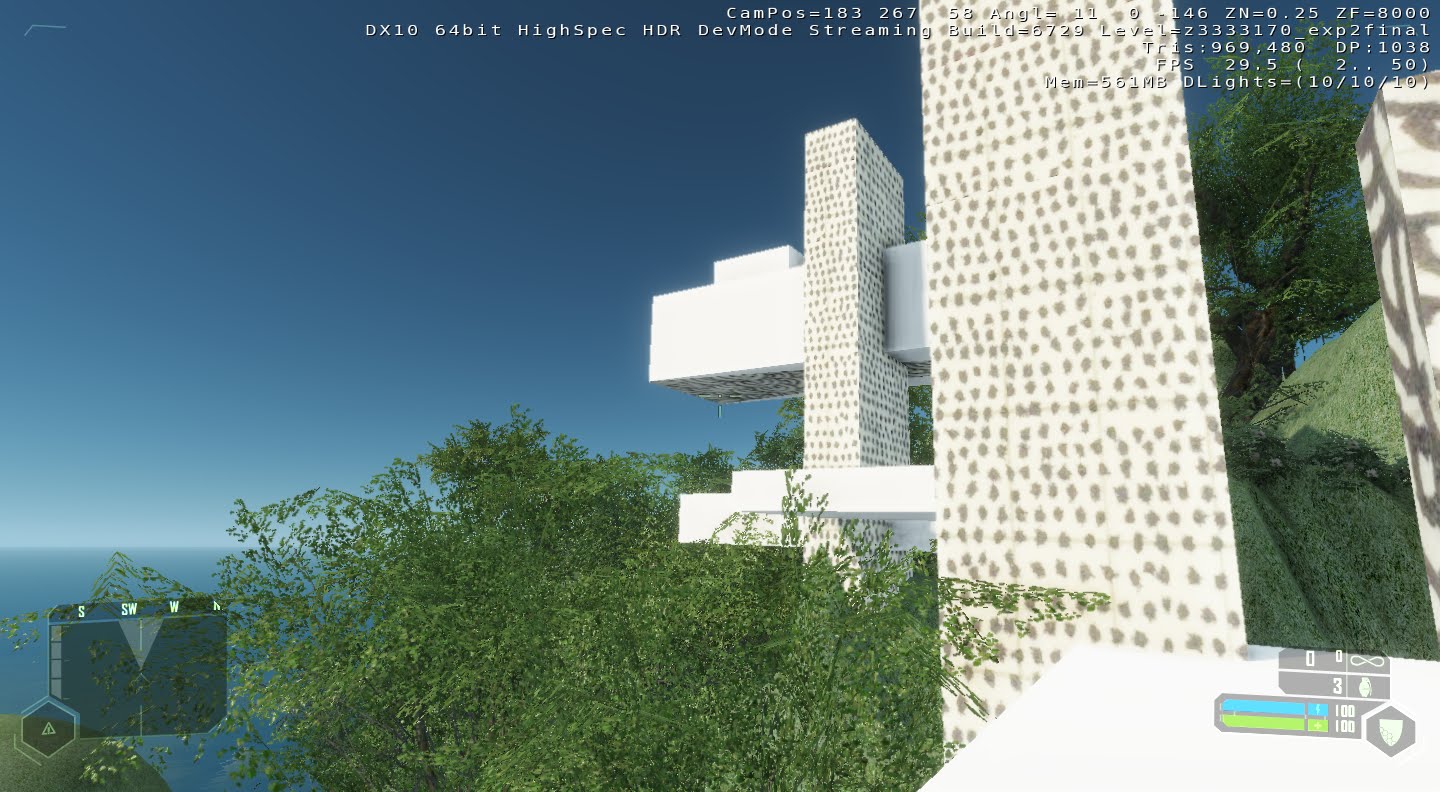 Image 3: This portrays Stephen Hawkings labortory as it rises up above the trees, as the long thin shape directs his view in a linear manner forward.
 Image 4: This portrays not only Charles Darwin's labortory but also the ramp within the landform connecting both labortories with the meeting place.
 Image 5: Taken a dawn this image displays the overall design of the structure as it is defined within its surronding landform by the lighting beneath the main labortories.
No comments:
Post a Comment